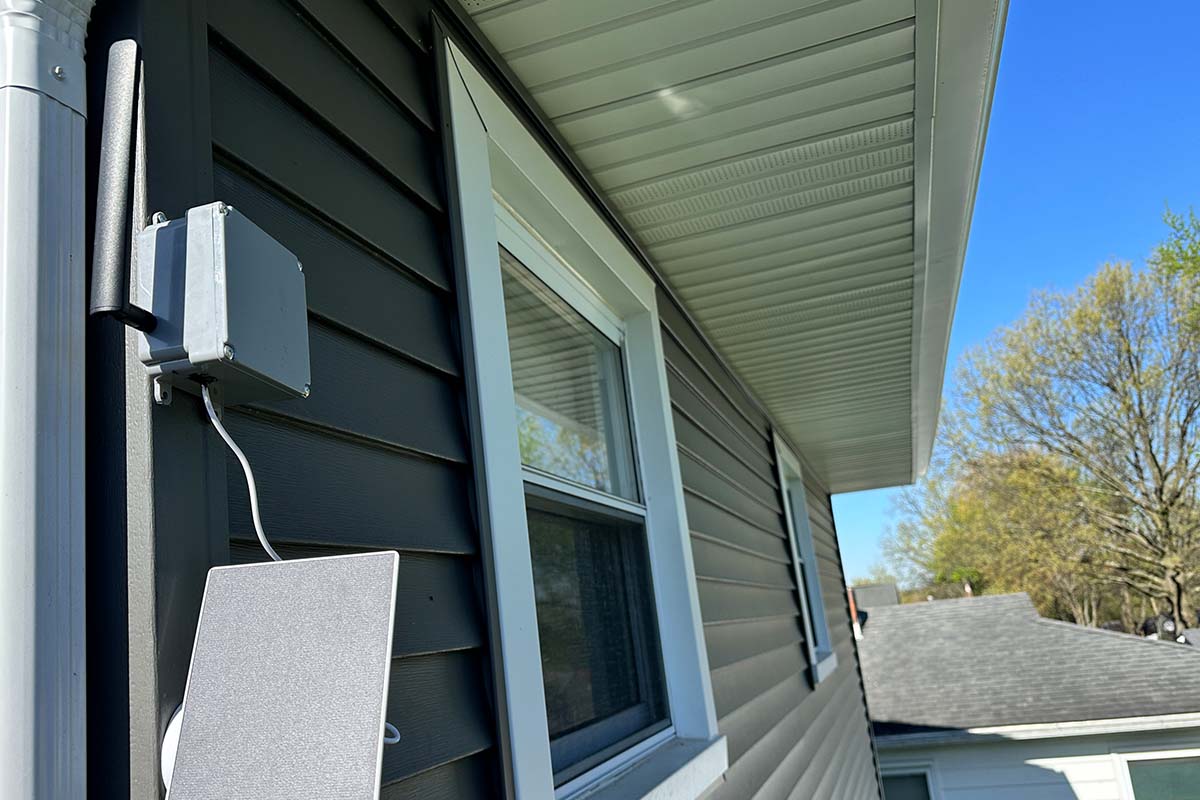
This is a simple guide to put together a repeater for LoRa using a Heltec V3 that runs on battery and charges via solar. How you configure the Heltec is up to you but I personally run the device as a “client. This allows me to use the device in the field if I am within BLE range but you can run it in repeater mode as well.
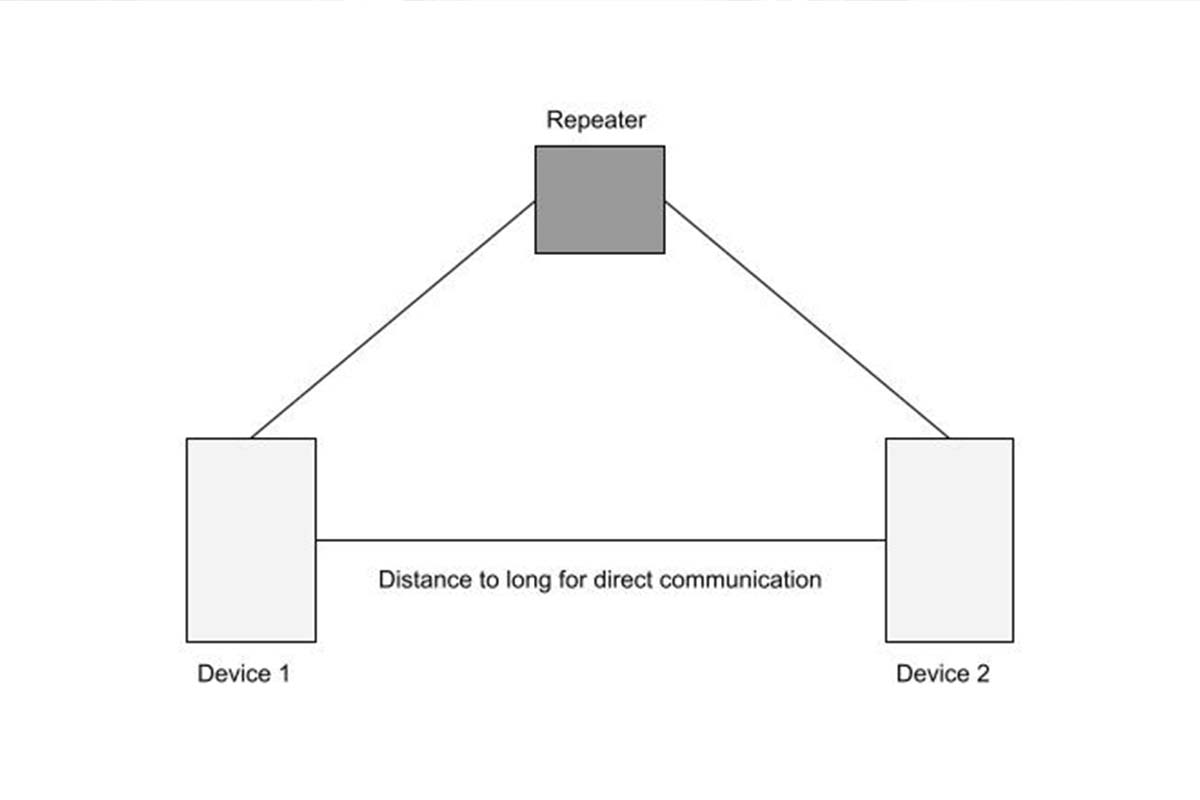
It is worth noting that with a mesh network, the term repeater can mean a user’s device as well as an unmanned node. Each node in the mesh acts as a repeater even if it is a user node. In this guide, we will use the term repeater describing a Heltec V3 that is being used as a dedicated repeater.

Material
The things you need to have are pretty straight forward. I have provided links below to what I used or wish I would have used.
Heltec V3 – $30
3.7v Batteries – $31
https://a.co/d/adlaRgm
5V Solar Panel – $20
Waterproof Electric Box – $15
Antenna
- Box Mounted: https://a.co/d/60FD9Xu – $15
- Pole Mounted: https://a.co/d/fp1XLrg
Additional Items
- Silicone or Gasket Maker
- Heltec V3 3D Printed Mount: https://www.printables.com/en/model/700429-heltec-lora32-minimal-case-bottom-with-battery-hol
- Stand alone case for Heltec V3 and 3.7V 3000mAh Lithium Rechargeable Battery 1S 1C
Step 1
Prepare the device by flashing the latest firmware of Meshtastic. Configure the device to your region (required). The region for the 915MHz is “US”. I recommend not messing with any of the settings until you understand what everything is.
You can add channels to the device if you understand how the configuration works. Now would be a good time to add your encrypted channels if you already have them created for your other devices.
Step 2
Drill a hole in the side of the waterproof box that is just the right size of the antenna mount. I would recommend putting a little silicone around the threads of the antenna mount so that the hole is sealed up when you screw on the antenna nut.
NOTE: Be sure to put the antenna hold relatively close to where you plan to put the Heltec inside. The supplied antenna lead is not very long.
Step 3
Soldering the Solar panel leads to either the battery leads or to the 5V and GND through pins on the device. I personally suggest using header pins if you have any and soldering them into the board. This way you can connect the solar panel to the header pins quickly.
However you do this, be sure the connections are good.
Step 4
Mount the Heltec 3D printed bracket to the inside of the housing. I used silicone as an adhesive but you can screen it in or use some form of glue. Be sure it is temp safe so that it does not release if the box gets hot.
While you are here, you can use adhesive Velcro to attach the battery to the inside of the box so that it is not just hanging in the box.
Step 5
Put all the components together and hook up the solar panel. Test the build in the sunlight to be sure it is charging. The orange light on the Heltec will light up solid if it is charging.


Leave a Reply